How to Set Up the Linksys Velop Pro 6E
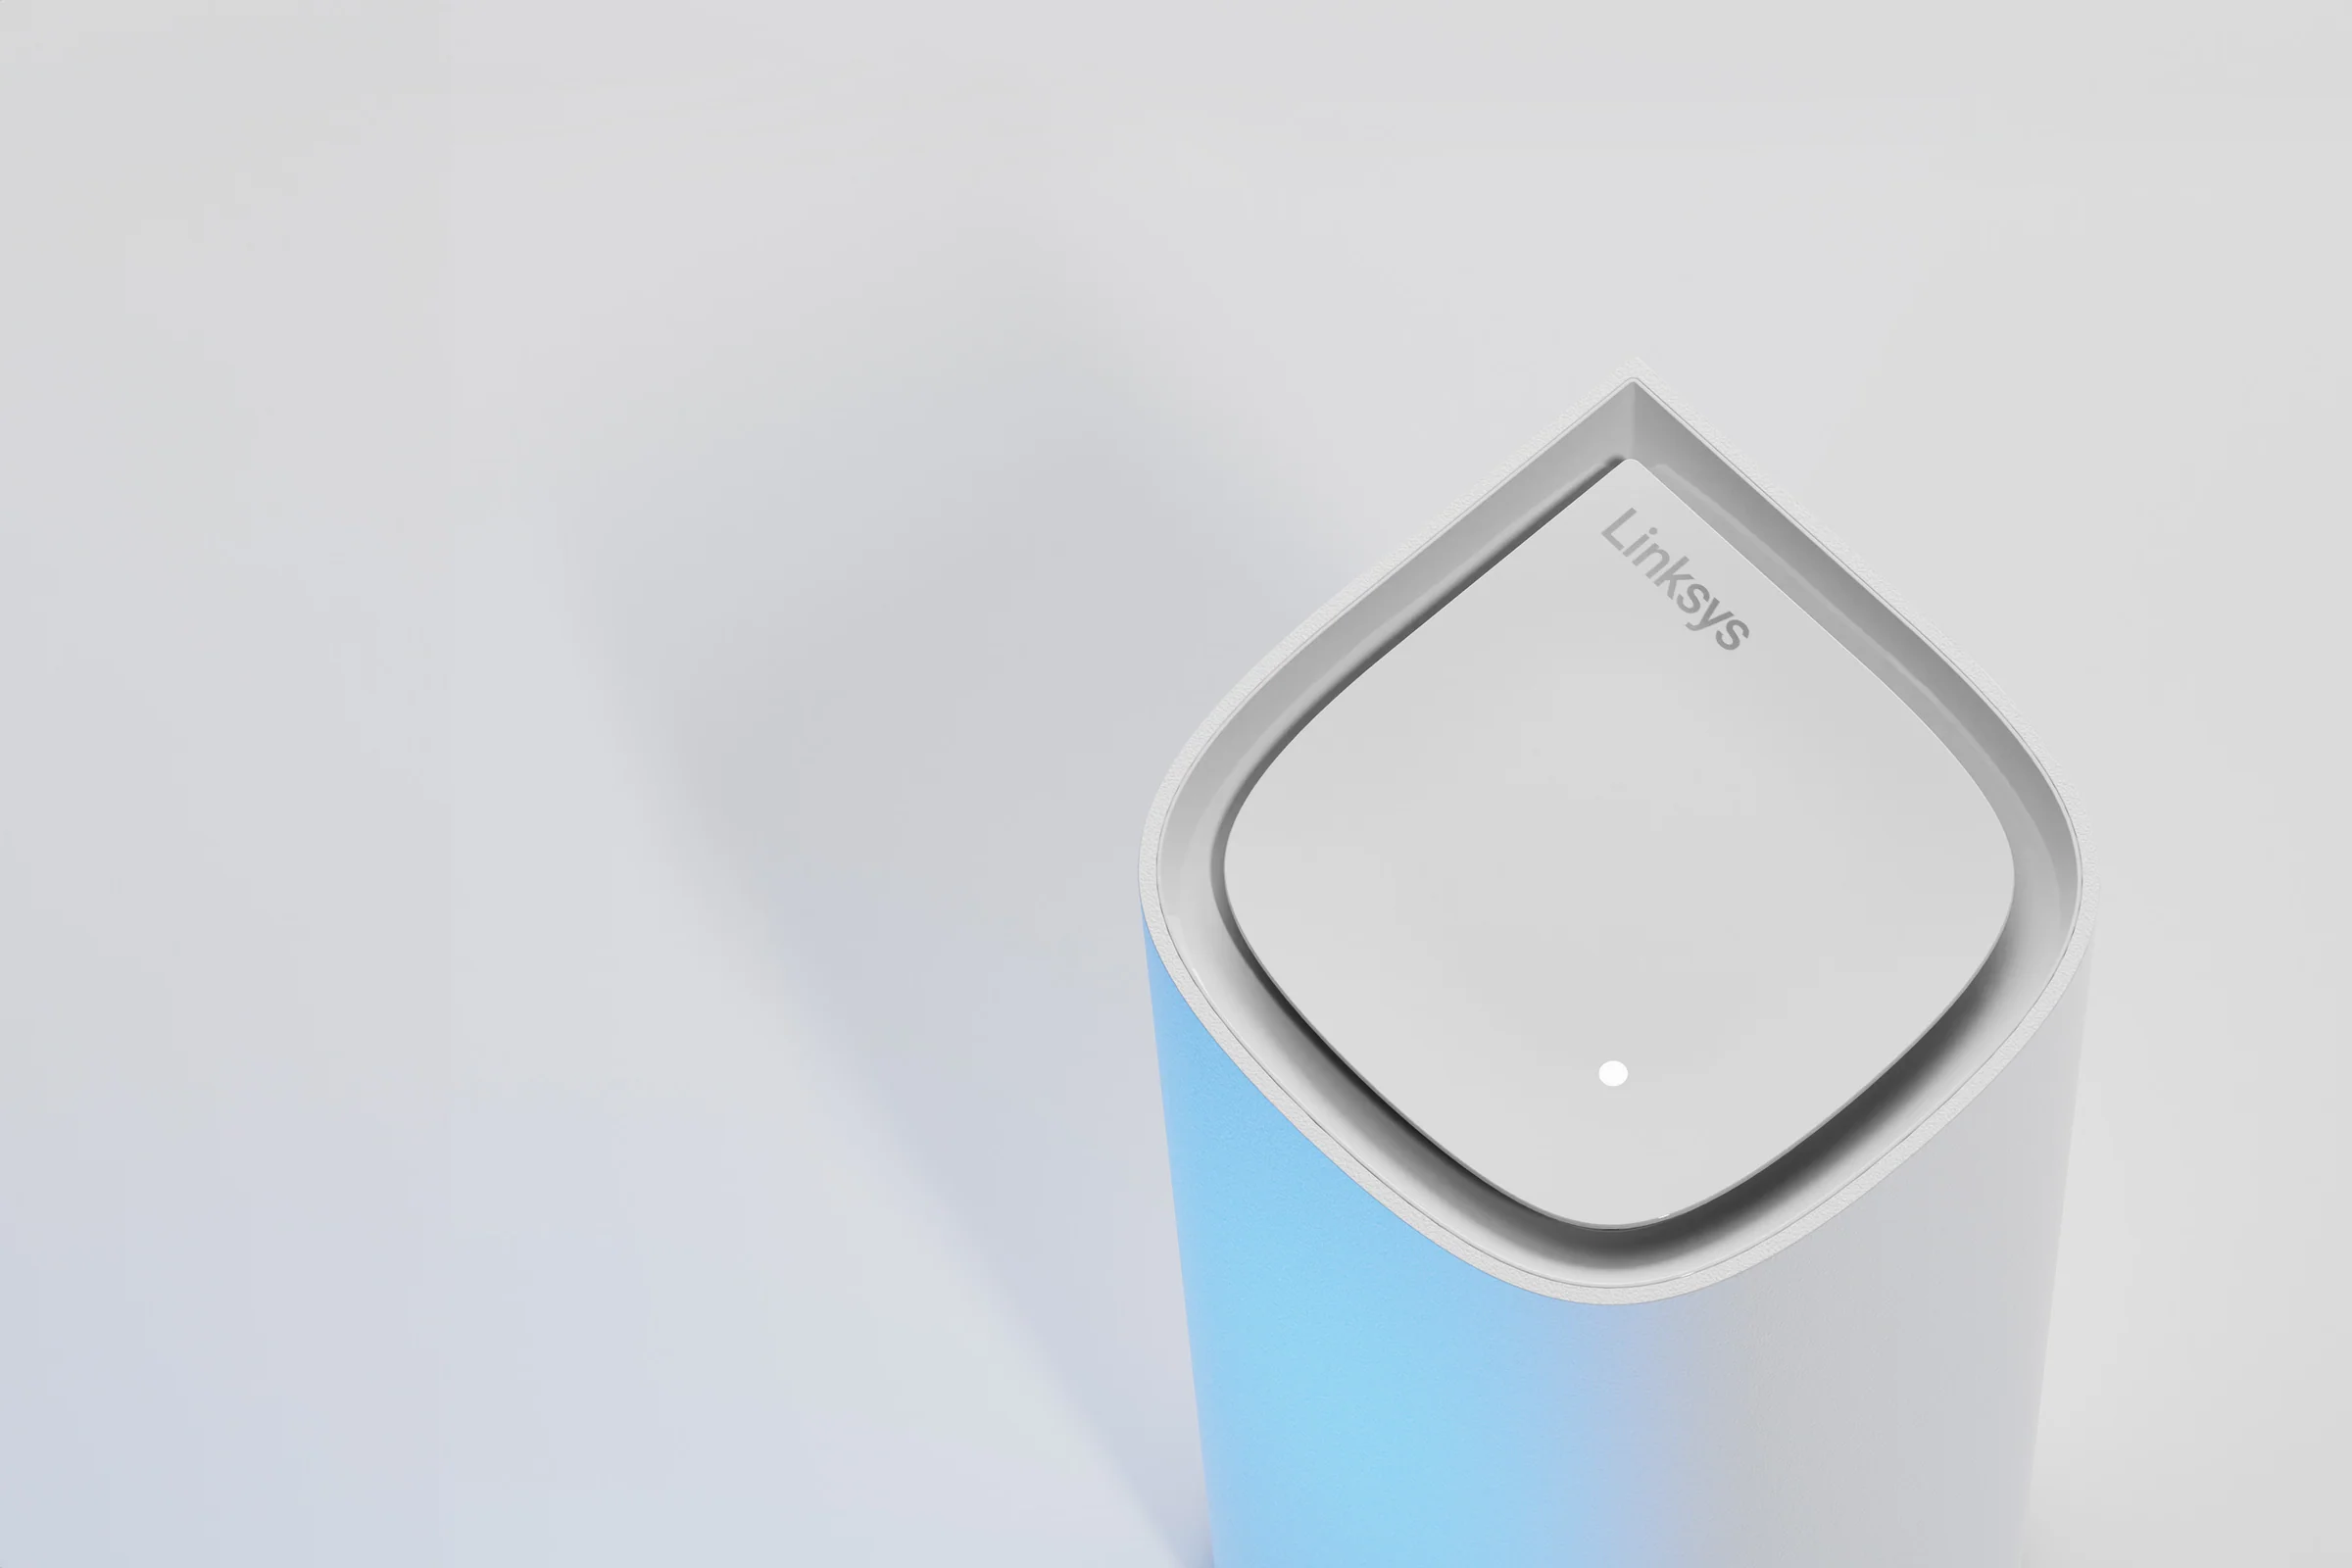
The Velop Pro 6E features a unique "droplet" design and utilizes Linksys's Cognitive Mesh technology to make setup as painless as possible. You will need your smartphone and about 10 minutes to complete the process.
Step 1: Prep the Main Node
Your Velop kit contains identical nodes. Pick one to act as the primary connection point.
- Disconnect your existing modem from power.
- Connect the provided Ethernet cable from your modem into the port marked "Internet" on the back of the Velop node.
- Plug the modem back into the wall. Wait until its lights indicate an active internet connection.
- Plug the Velop node into a power outlet. The light on top will blink blue when it is ready for setup.
Step 2: The Linksys App
You cannot set up the Velop system using a traditional web browser. You must download the official Linksys App from your mobile app store.
- Open the app and select "Set up a New Wi-Fi Network."
- Choose "Velop and Mesh Routers."
- Ensure your phone's Bluetooth is turned on. The app will locate the blinking blue node and securely link your phone to it.
- Follow the on-screen instructions to create your new Wi-Fi name and password.
Step 3: Expanding the Mesh
Once the main node is glowing solid blue (indicating a healthy internet connection), you can add your satellite nodes to eliminate dead zones.
- Place the next node within range of the primary node (usually 20 to 30 feet away, or directly on the floor above it).
- Plug it into power and wait for it to blink blue.
- In the Linksys app, tap the menu icon and select "Add a New Node." The Cognitive Mesh technology will automatically sync the new node and configure its wireless channels to prevent interference.
Placement Matters
Because the Velop Pro 6E has internal antennas, it relies heavily on vertical positioning. Do not place the nodes horizontally on their sides, and avoid placing them inside closed media cabinets. Keep them out in the open for the best signal broadcast.